Zombies Be Zombies – ABOUT MORPHING
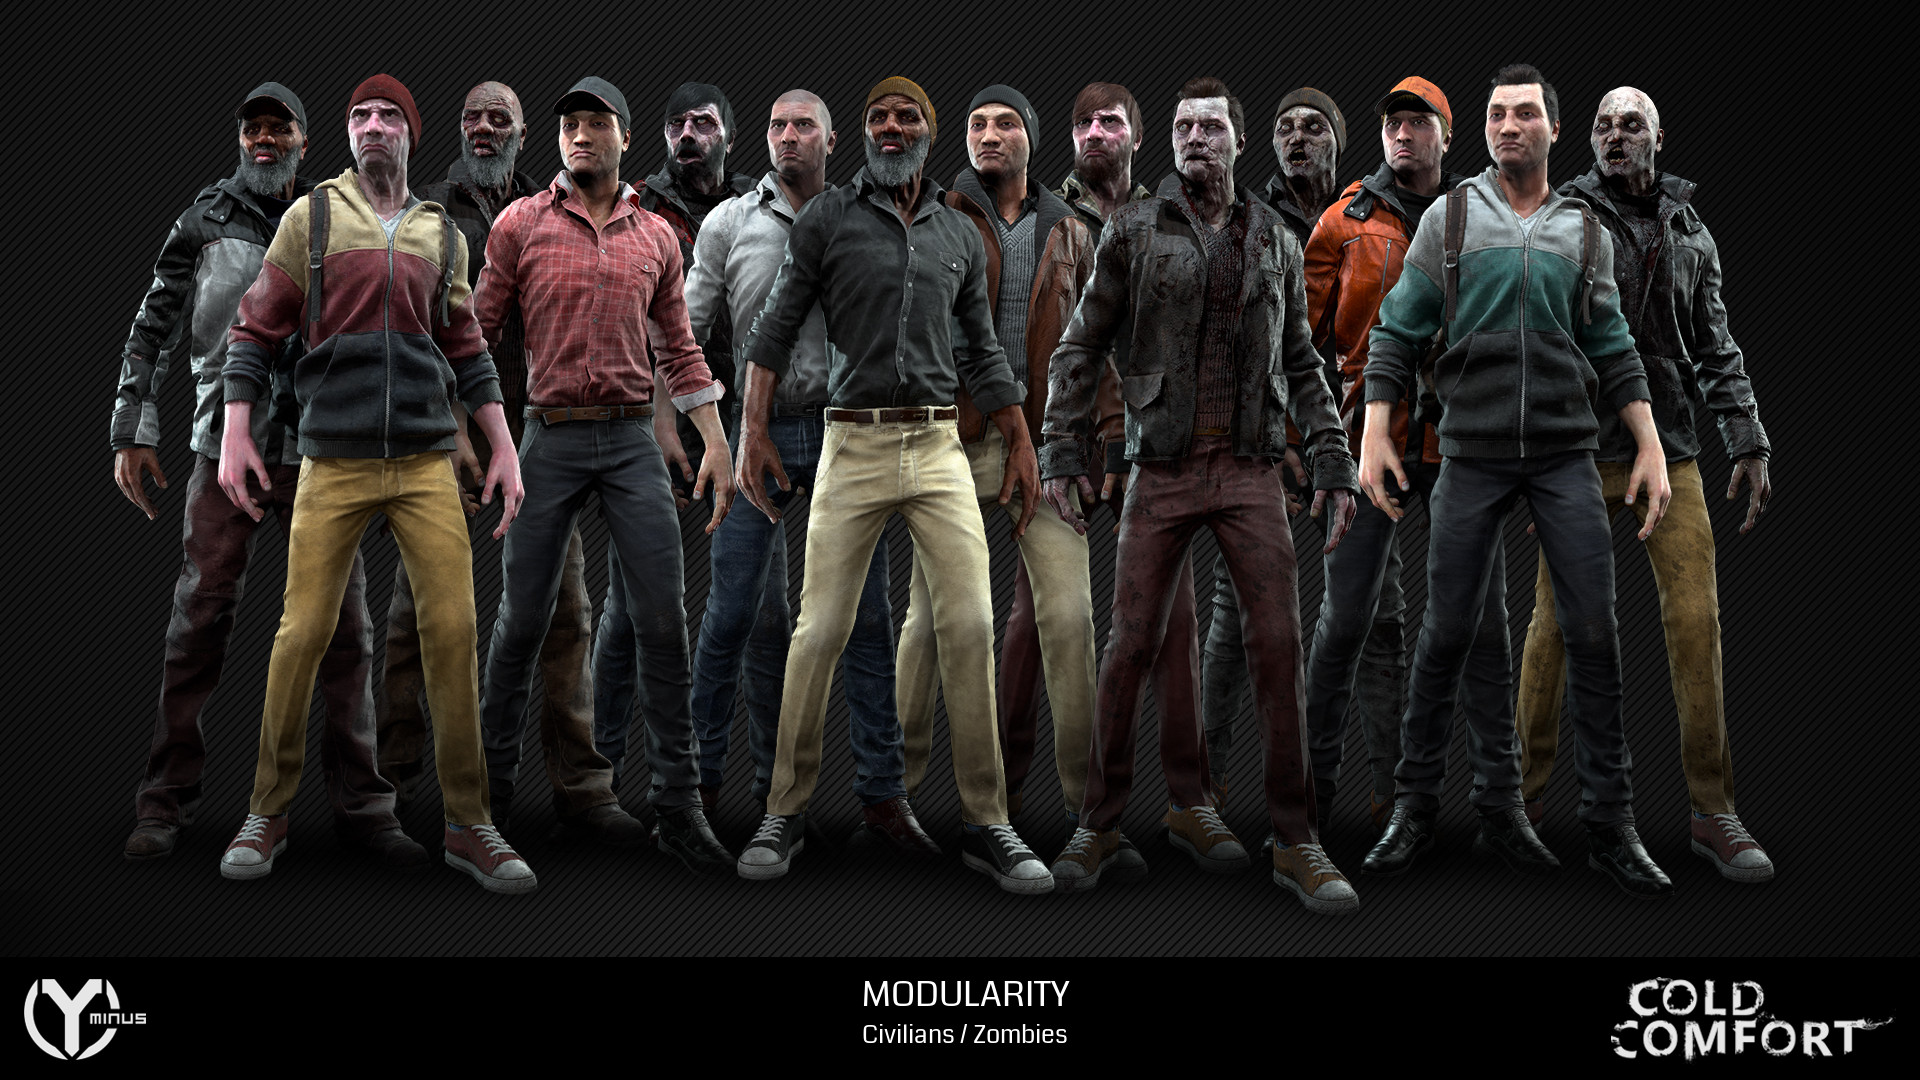
We’ve already given you some insight into the work pipeline for our AI–Modularity. Today we’re talking about Zombie Morphing. This system was also built by one of our Character Artists, Daniel Schwarz, who focused on the NPCs of Cold Comfort. Here he will, again, shed some light on how the NPCs of Cold Comfort are able to transform (morph) into a zombie version of themselves, after being bitten.
To create the zombie version for our NPCs we don’t do everything from scratch, as we would with a new set of clothes, or uninfected heads. For each step in the pipeline we use what we have, and start from there.
Conceptualization
The conceptual design is heavily intertwined with our lore and state of the zombies. They are freshly transformed by the Gamma Strain virus. That means, no crazy flesh wounds or damage you would normally find on a zombie that already got to experience some gunfights in the past.
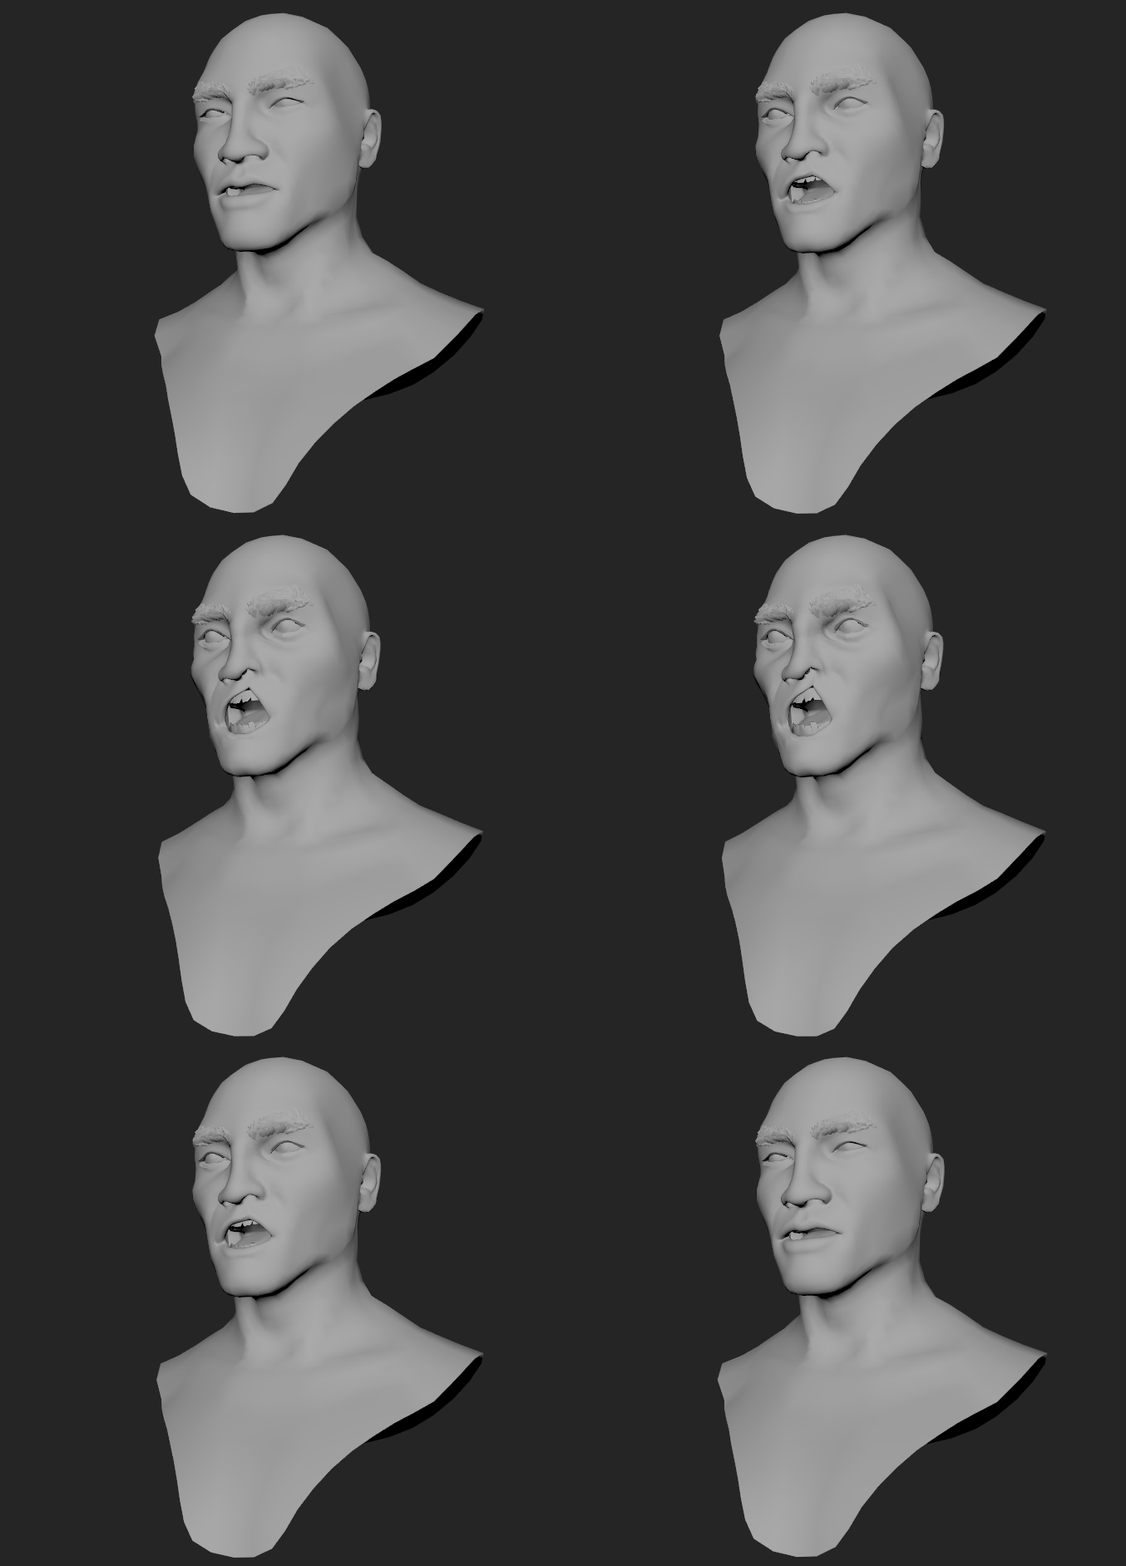
Furthermore we can’t deviate too far from our uninfected head, since we use the same UVs and topology in order to make the morph work with blendshapes and texture blending.
MODELING
For the zombie version we only focus on the geometry of the head and arms, clothes are overhauled in the texturing process. The only parts that need to be put into ZBrush are the body pieces.
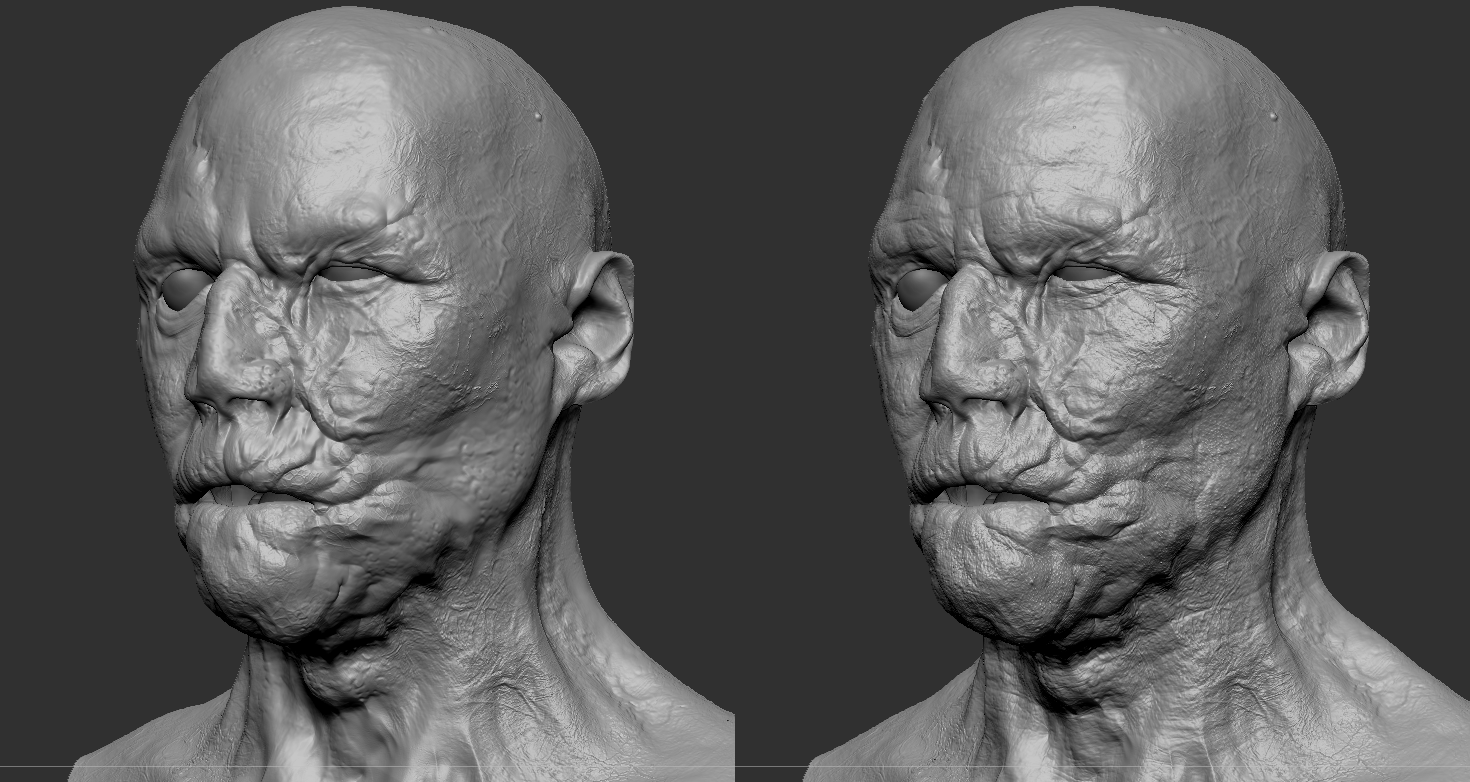
UVs and retopology are already finished and can’t be changed due to the morphing feature. If they differ from our sculpt in ZBrush, they need to be reimported, and the detail of our uninfected head reprojected to the retopologised and UV’d mesh on a layer. That way we keep the skin detail of our human and can later use it as a base. Disabling the layer allows us to work on the bare mesh without destroying the detail when smoothing areas; keeping in mind that altering the geometry too much will result in heavily deformed UVs (since they are bound to our retopology geo). Whenever we want to, for example, pinch or inflate certain areas of the skin, we make a copy of the mesh, apply the changes and project them back to the original sculpt. No evenly distributed topology will be harmed during this process.
Once we are happy with our macro detail (and meso detail, which is, according to Google, the in-between) we move on to the micro stage and enable our uninfected skin layer.
On top of that we add, on another layer, additional zombie skin detail like decay or wounded skin. The morph brush is your friend when deciding how much we want to blend our different types of skin.
The next step is to tackle the zombie head (or arms); where they are imported back to Maya (or 3Ds Max). The lowest subdivision level, which is our UV’d retopology and a medium level to use as a live object. “Why the medium?” You might ask. Well, sometimes our zombie version gets a big bump or some serious deformations in certain areas. If done right, topology and UVs shouldn’t be stretched, but we won’t have enough faces to smoothly adapt to these drastic changes of the head shape. So we are going to increase the polycount in these areas while using the medium level sculpt as a live object. But since adding geometry to the zombie retopology will break our blendshapes, we need to apply all our topological changes to the uninfected head as well.
If at some point our vertex order gets screwed up, as long as topology stays exactly the same, we can fix our blendshapes with the “Reorder Vertices” tool in Maya.
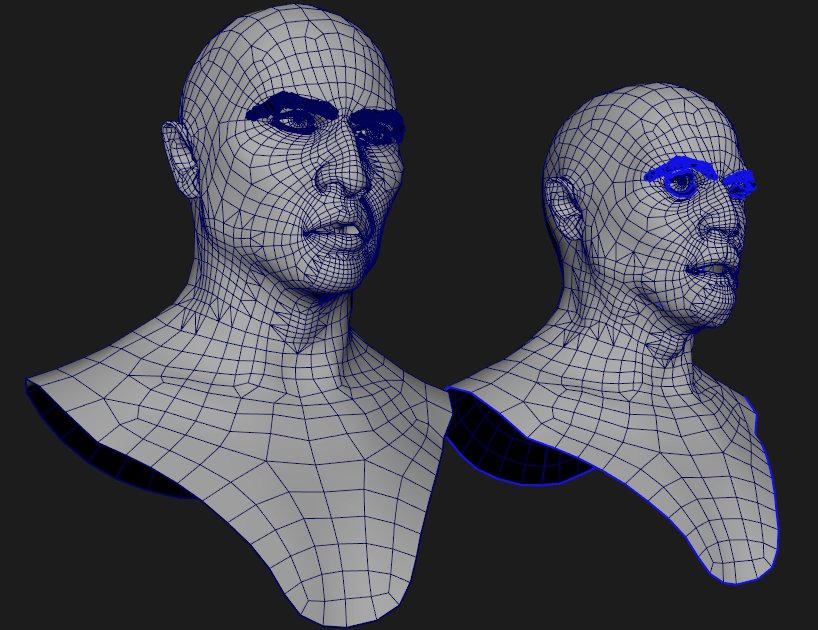
The last step in our modelling process is combining all secondary meshes of our uninfected head with our zombie head. That includes eyebrows, eyelashes, eyeballs, mouth bag (gotta love that term) and sometimes a beard. To match eyebrows, eyelashes and beard to the new head shape, we are going to use our blendshapes together with a wrap deformer. If the uninfected head acts as a deformer for these secondary meshes, they are going to move to their new location and stick to the same spot on the skin surface, once we blend the uninfected head with the zombie head.
Now we need to combine everything in the same order we did with the uninfected head to keep the vertex order the same. If everything is done right we get something like shown on the right.
TEXTURING
Since UVs are the same, we can reuse the Substance Painter project and just swap out the mesh + baked inputs. Unfortunately every stroke that’s painted by hand is reprojected onto the mesh instead of using the UV map. So if we want to use our custom painted masks, we need to export them first and add them to the zombie Substance Painter project as bitmaps.
The uninfected textures act as a good base for the zombie.
Now we can adjust the colours a bit and add any blood stains, wounds, infections etc. on top. And that’s it for texturing the head and arms of the zombie version.
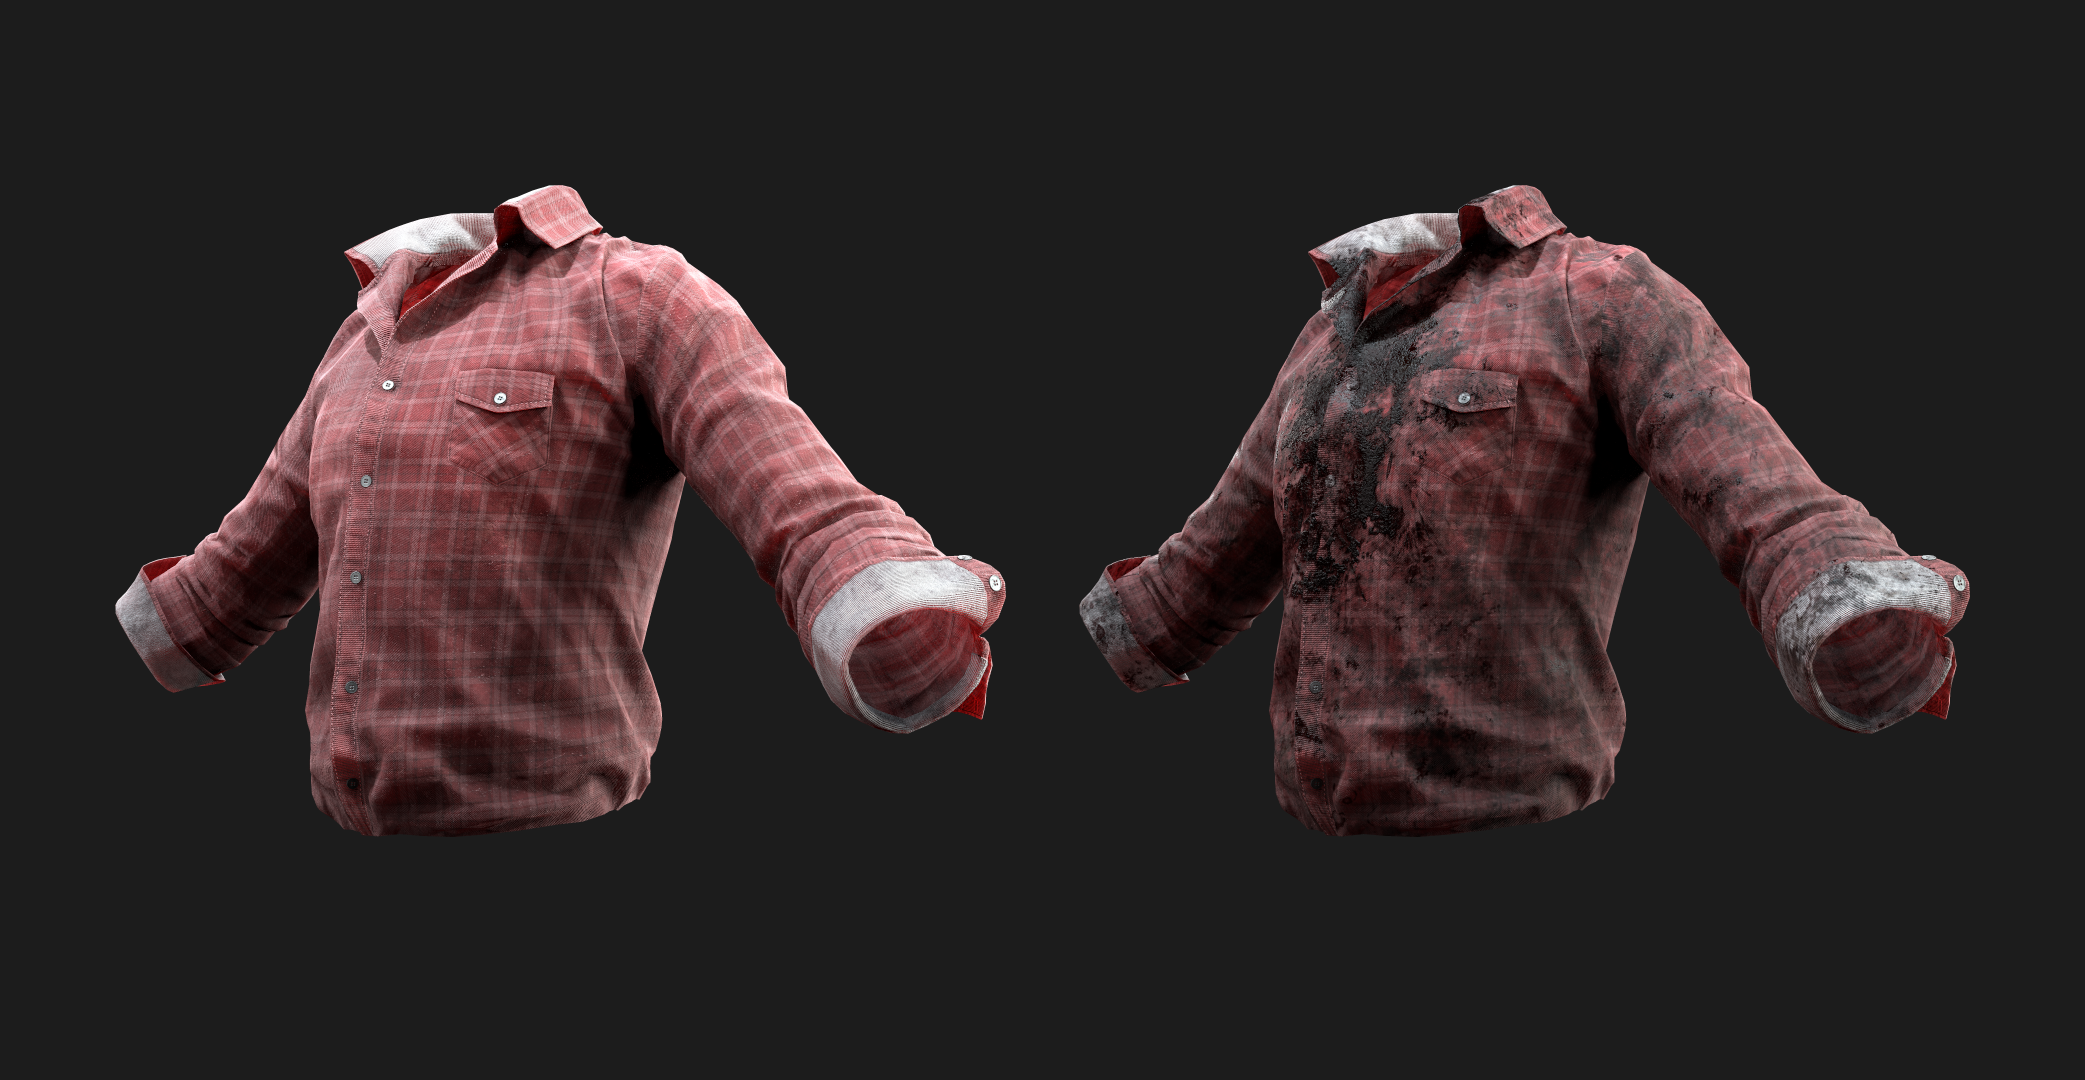
The last step of the AI creation process revolves around additional masks for the clothes, in order to add dirt or blood textures on a subsequent layer in the engine.
Layers
There are two different types of layers that will be added on top of the clothes after the zombie transformation.
1. The dirt/grunge layer, which must be created only once, since it’s going to be tri-planar projected in engine and thus is going to work with every modular piece.
2. The blood layer, which is going to add a big stain of blood on the chest of the zombie’s torso clothing piece. It uses the torso’s UV map and thus will only be layered on top of that particular modular piece. Due to this and since we don’t want every blood stain to look the same, we are going to create a new one for every new torso
part.
Both layers use the standard range of PBR textures required for the UE4 + a greyscale mask, to determine which areas of the zombie’s clothes will be covered by dirt or blood.
Delivering the asset
Once everything is named correctly, textures and masks efficiently packed and blendshapes successfully tested, the asset can be delivered to the next department, where it will be rigged and animated.
WRAP-UP
We hope we were able to shed some light on the development process of our morphing system in this article. If you didn’t manage to read up on our modularity system, you can check out that article here. Make sure to head over to his ArtStation page, and show Daniel your appreciation by following and liking his work (artists love that stuff).


